This guide will explain the process of installing your Kabuto FRT kit, and give a brief overview of its function.
This guide assumes you are installing on an AR-15 platform. Ideally with a low-shelf lower (See here for more details on high vs low shelf).
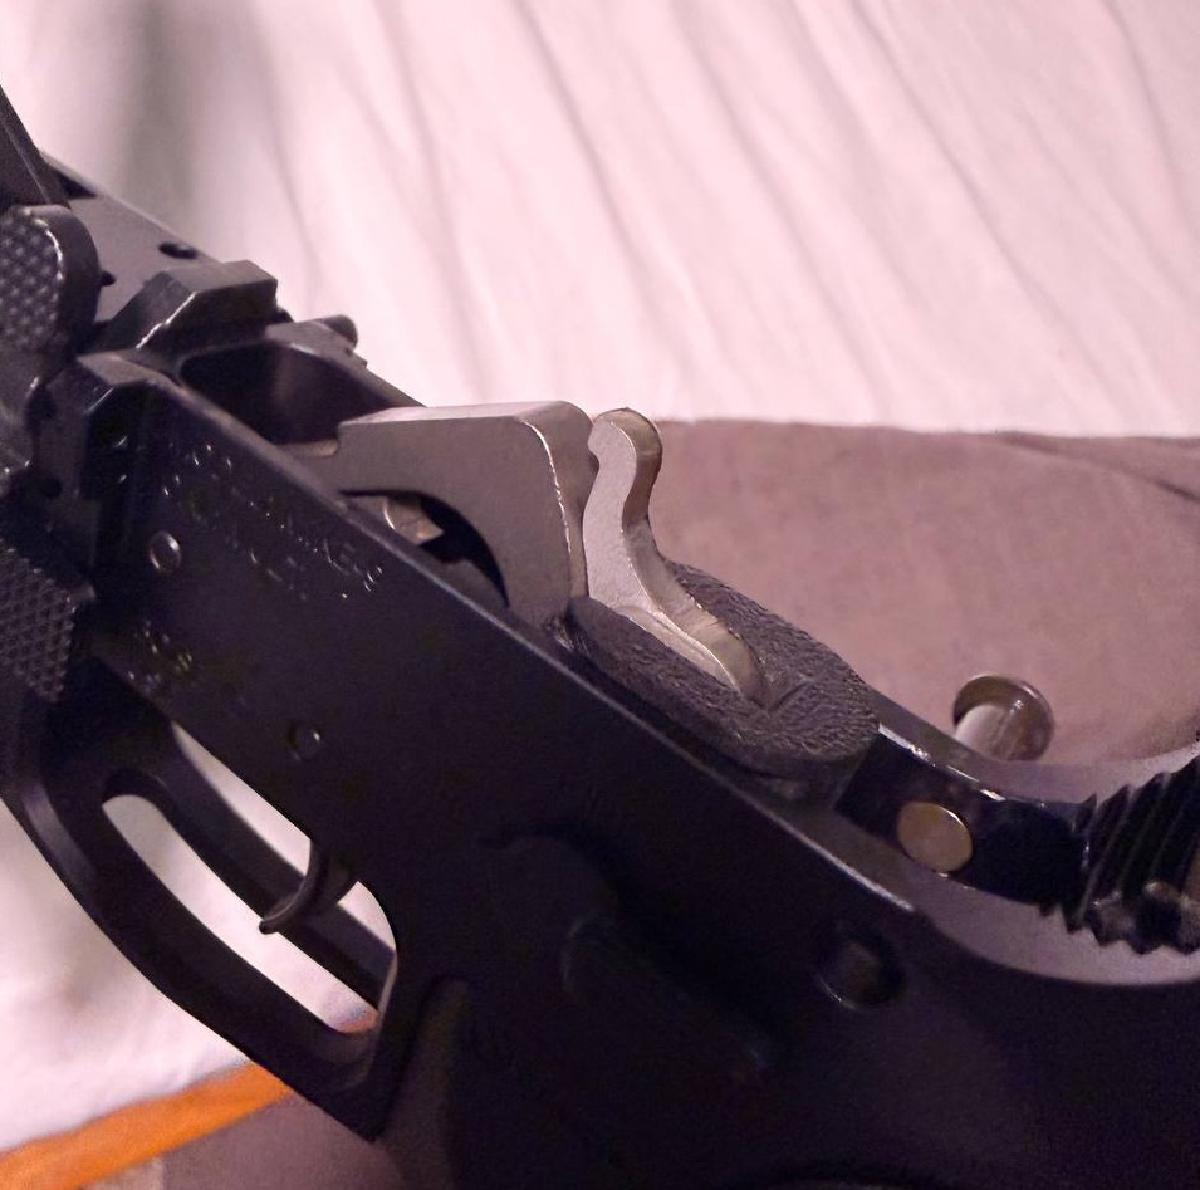
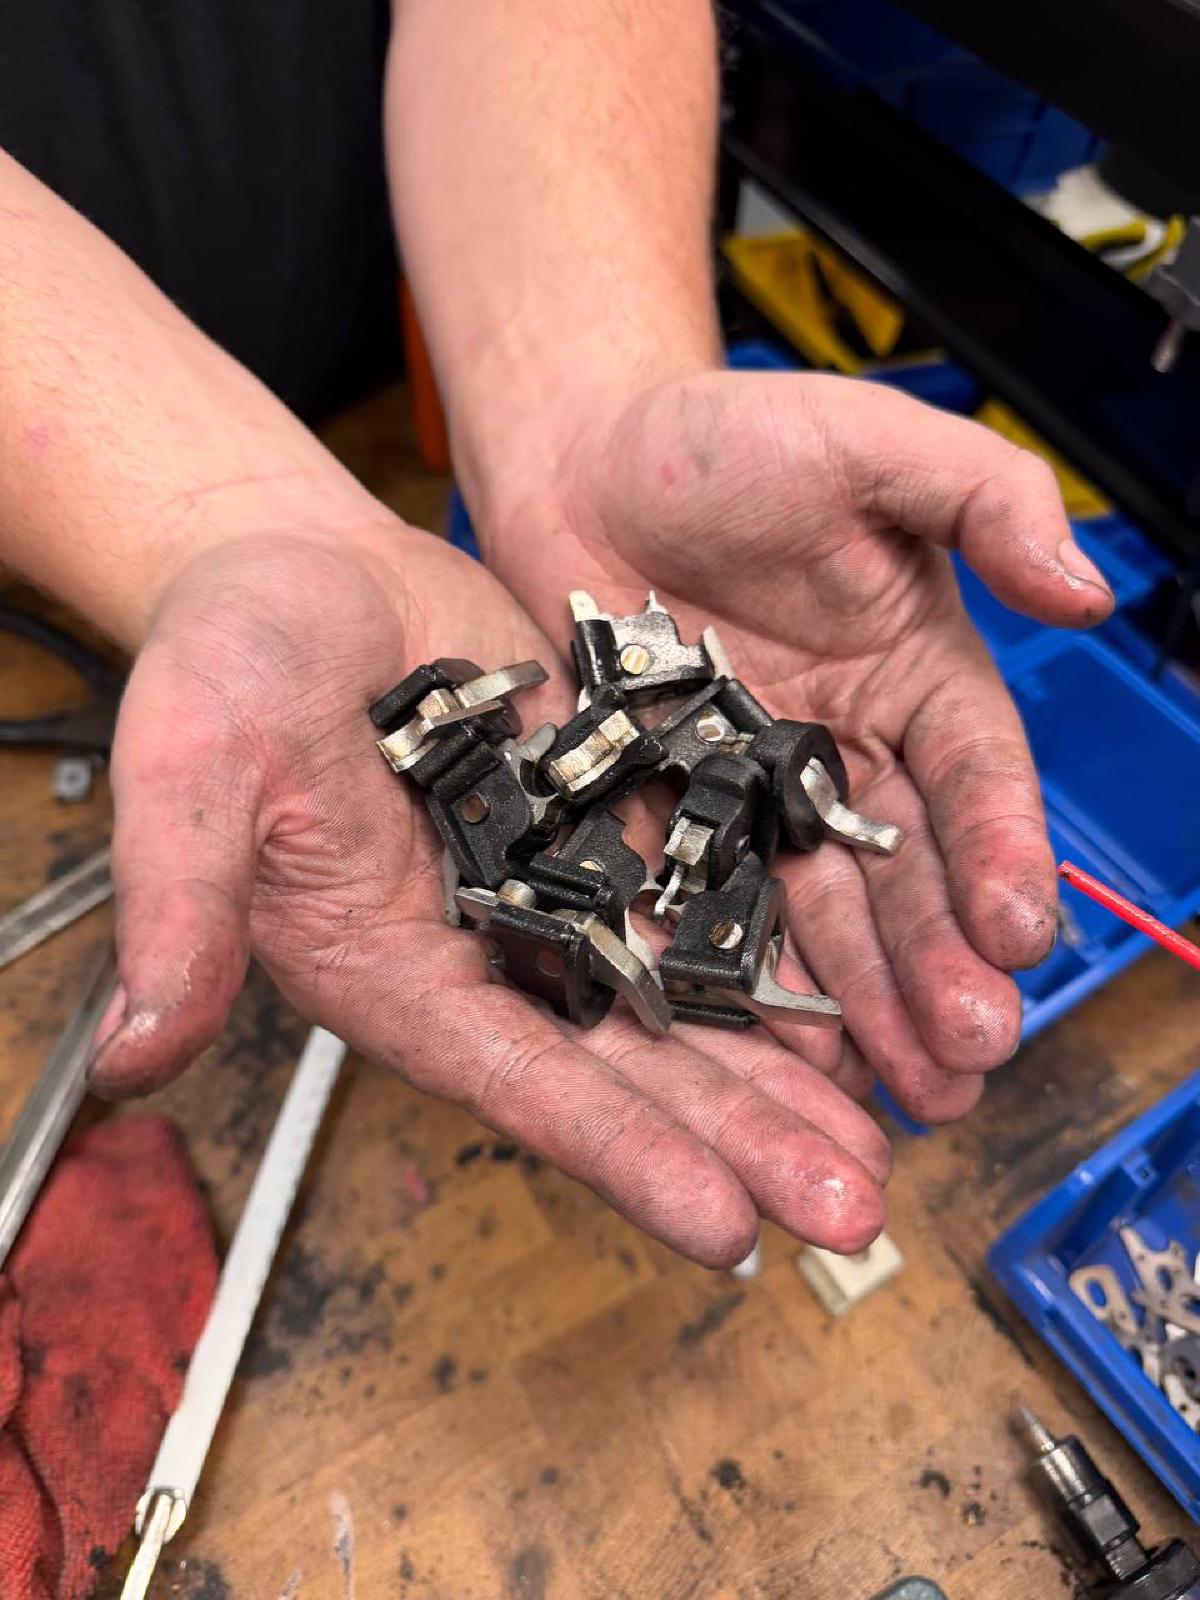
We highly recommend reading through the guide end-to-end before starting. It’s not a super complex process, and if you built your own AR-15 it will be very easy. We just have lots of pictures to make sure you don’t get lost along the way.
Before we begin:
- Wear safety glasses while handling or modifying firearms.
- With the firearm in a safe direction, remove the magazine, and clear the chamber. Confirm the weapon is unloaded.
Tools you will need:
- Flathead screwdriver
Installation (Lower Reciever)
1.0 Remove upper from the lower.
Push out your two takedown pins, make sure the bolt is forward, and remove the upper reciever from the lower.
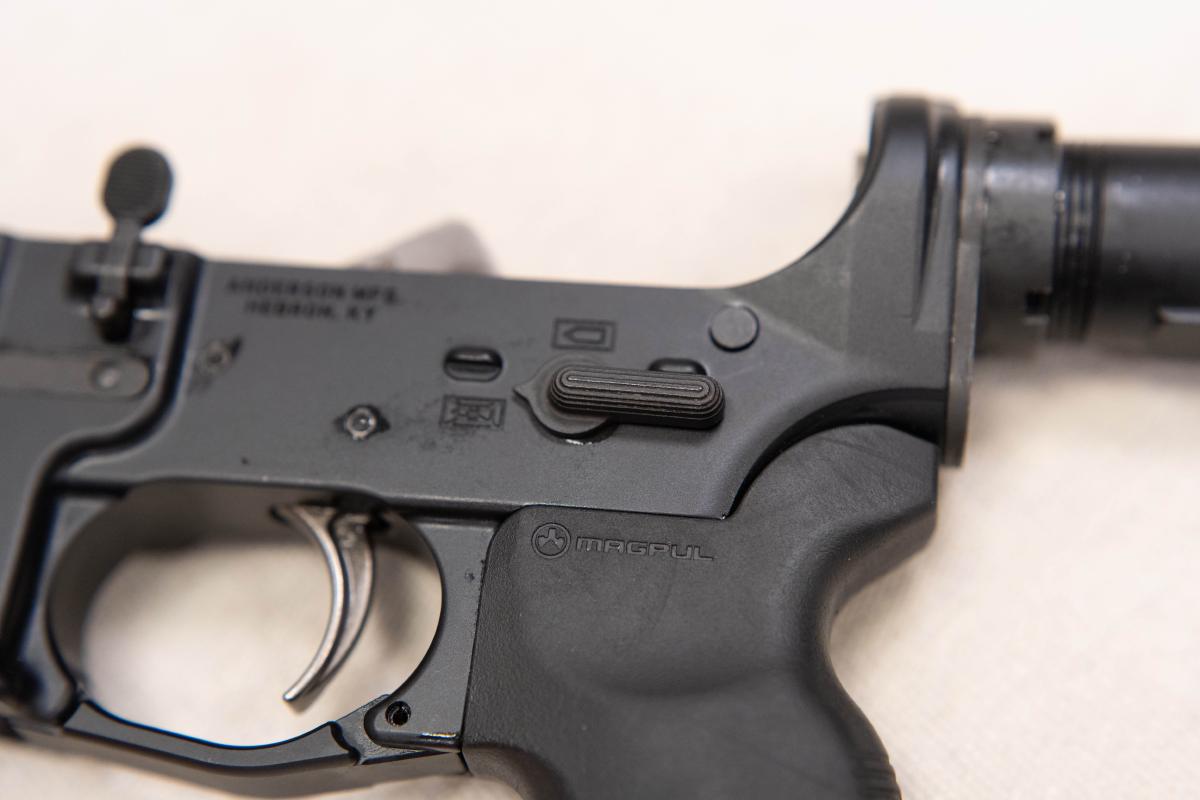
2.0 Remove Pistol Grip
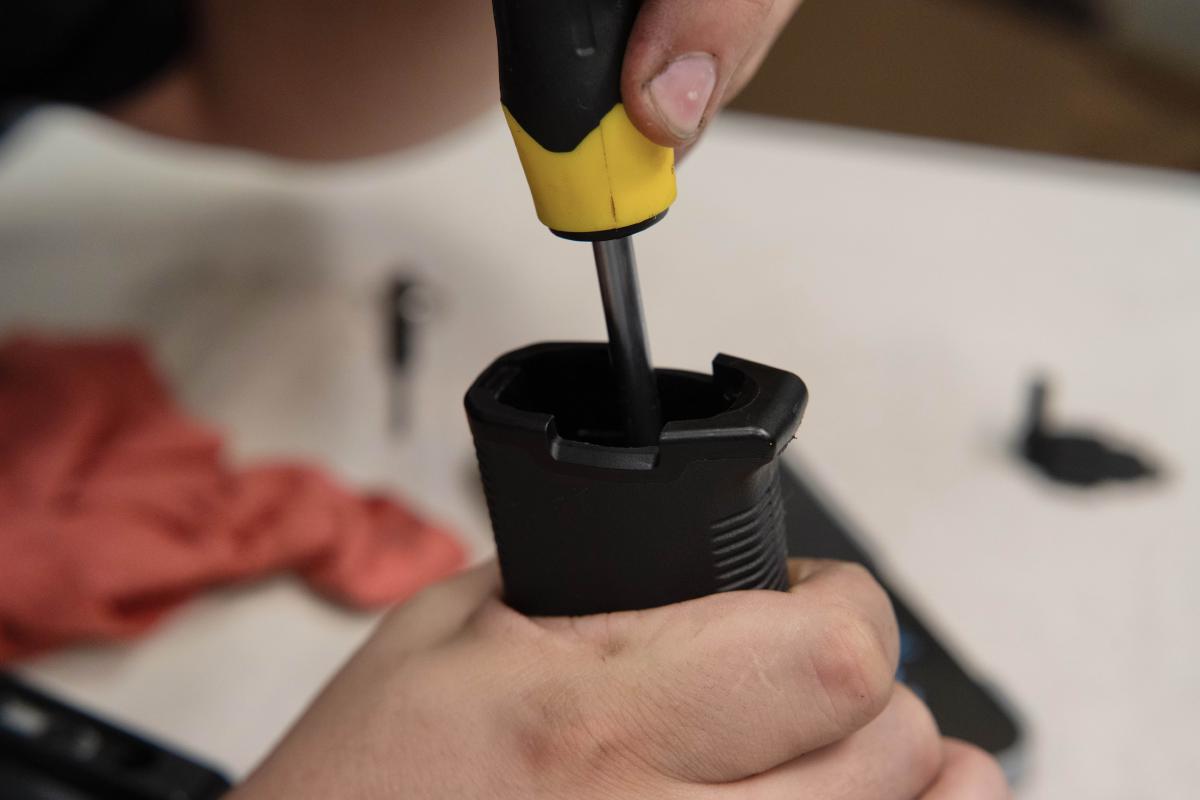
Remove the cap from your pistol grip. Then, using a flathead screwdriver, remove the pistol grip screw.
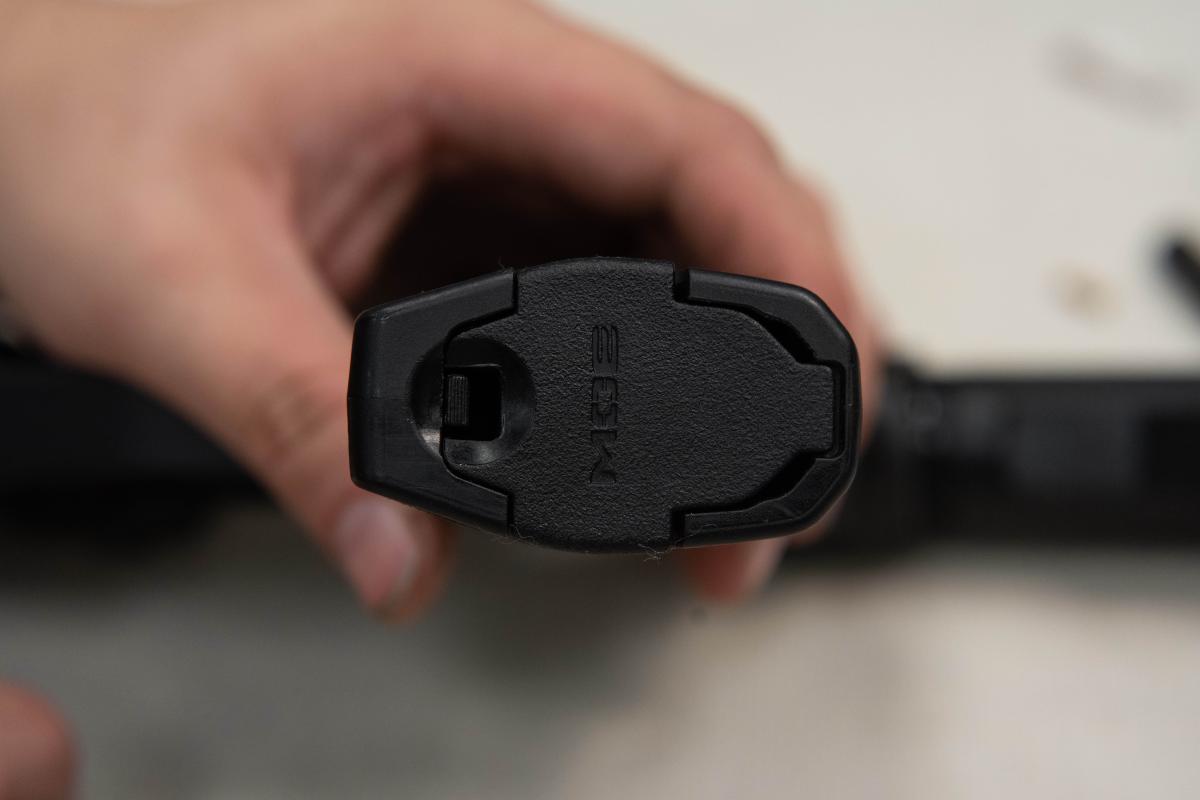
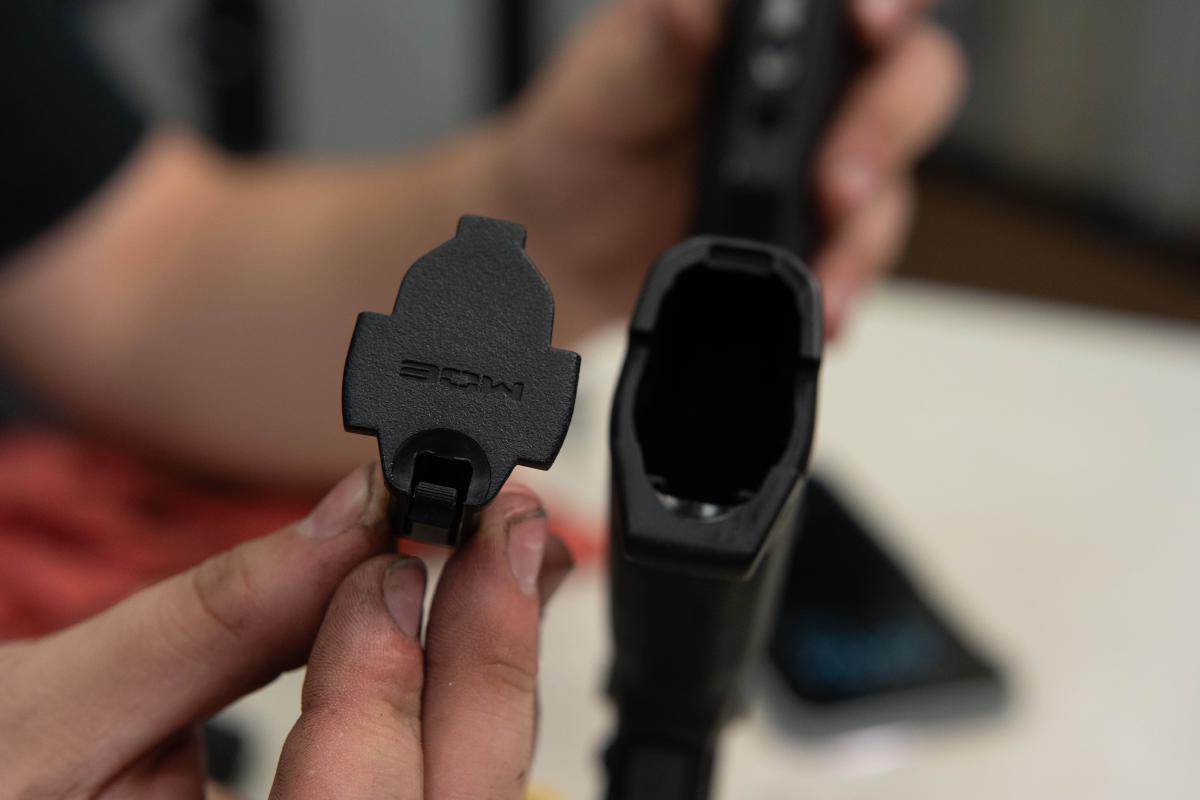
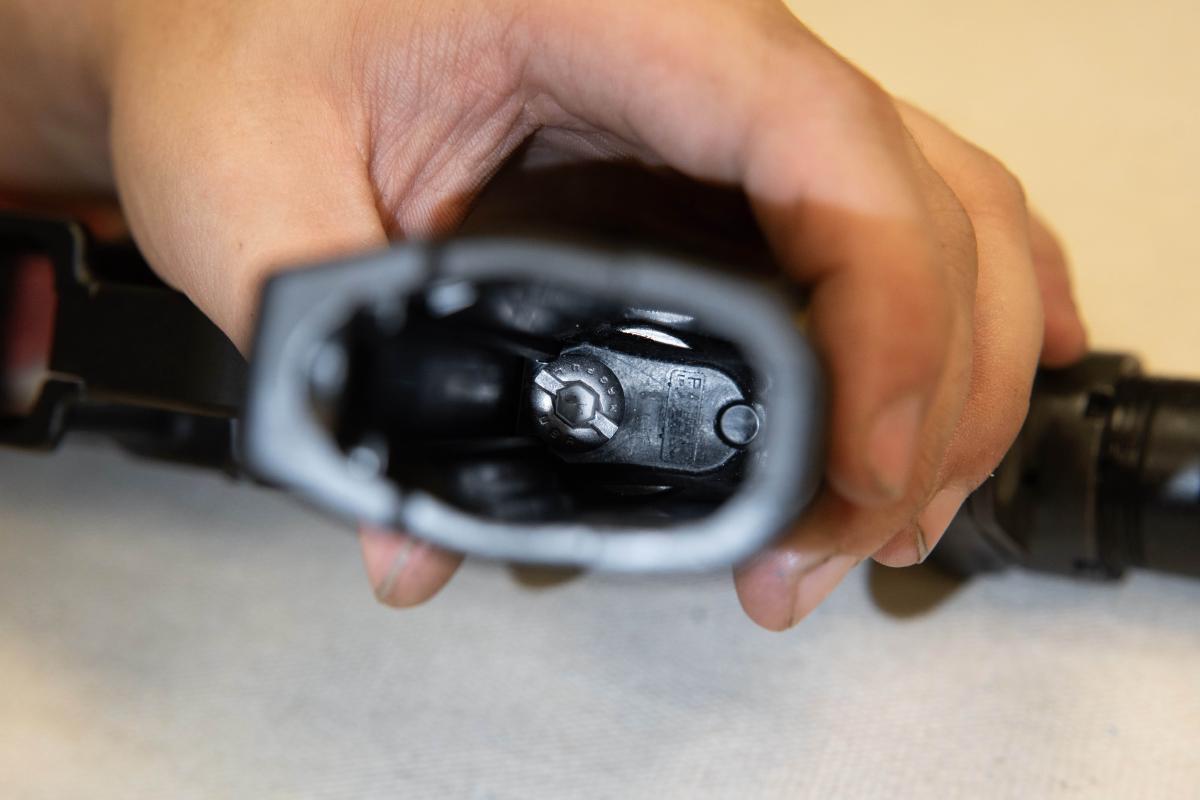

Carefully grip the pistol grip as it is coming out. The detent retention spring may jump out.
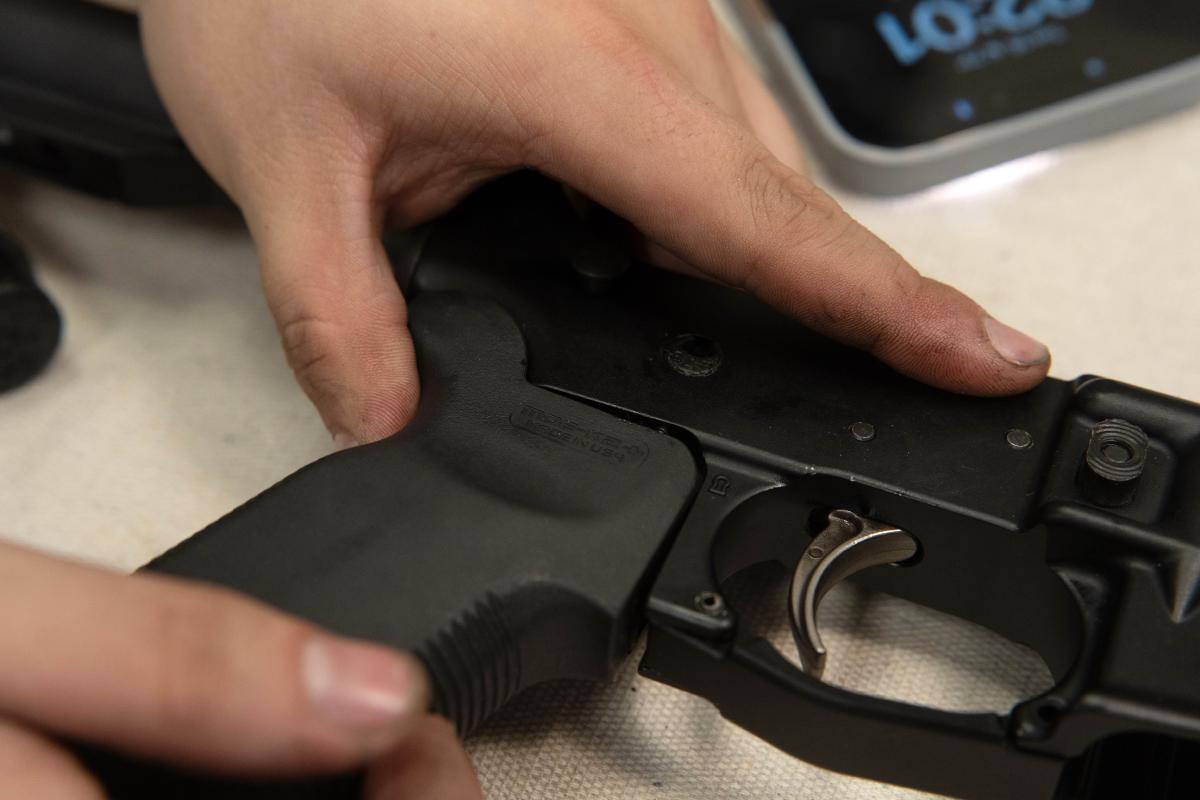
2.1 Secure Safety Detent Pin, and Spring
Next we will remove the safety selector, the detent pin, and the spring. Set aside all parts. You will need the spring again shortly.
First, cock the hammer. Otherwise you cannot remove the safety selector.
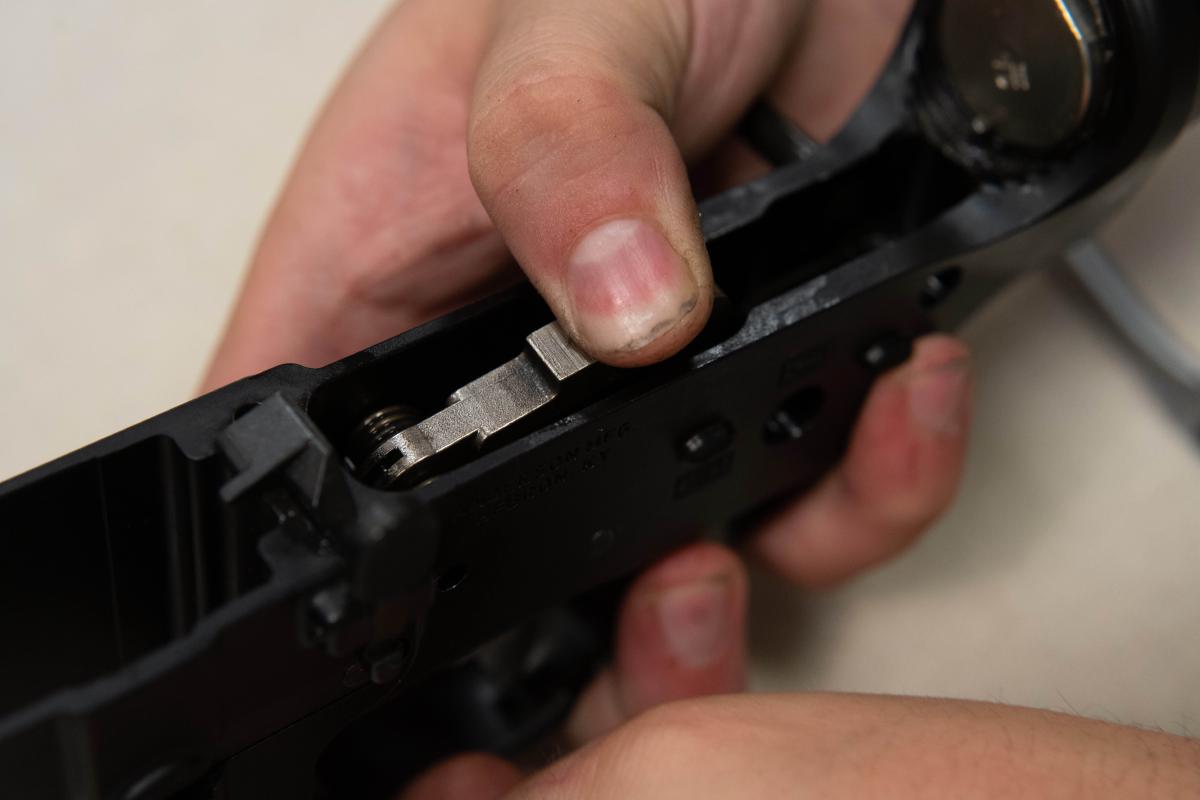
Second, ensure the detent pin has been removed.
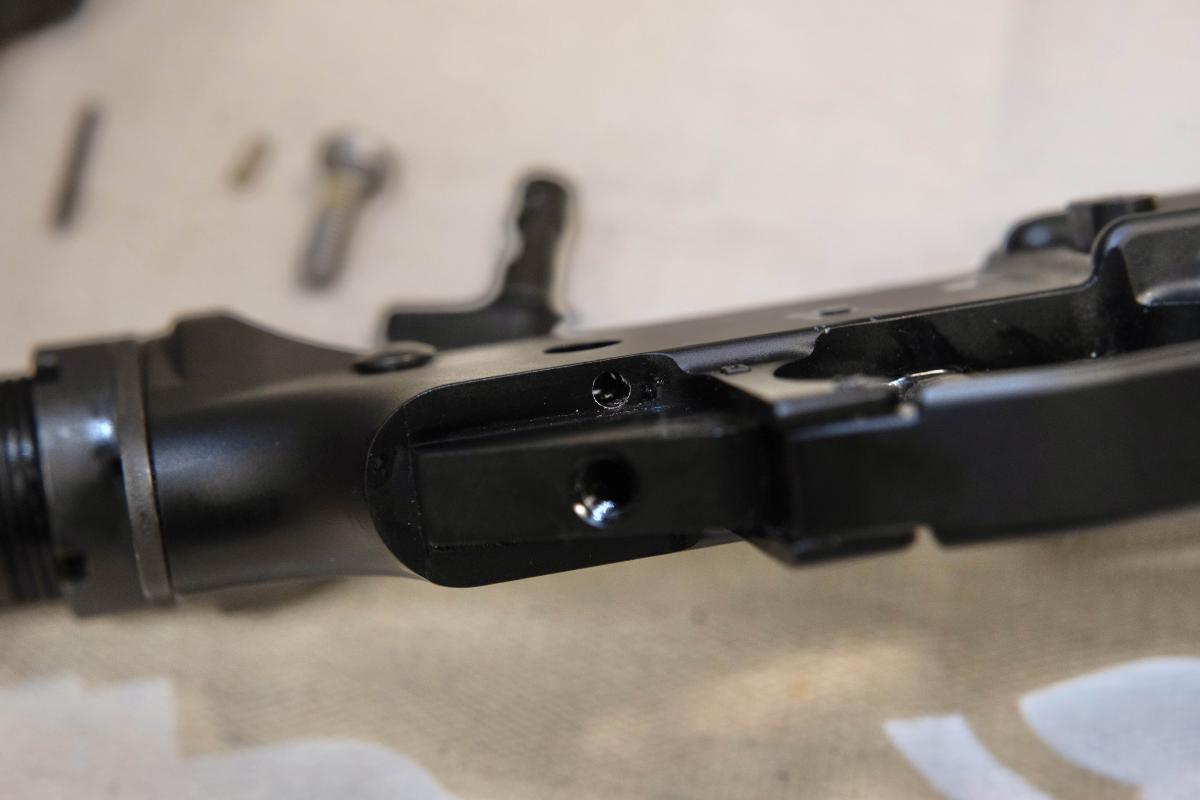
Put your removed parts to the side.

5.0 Install 3-Posistion Safety
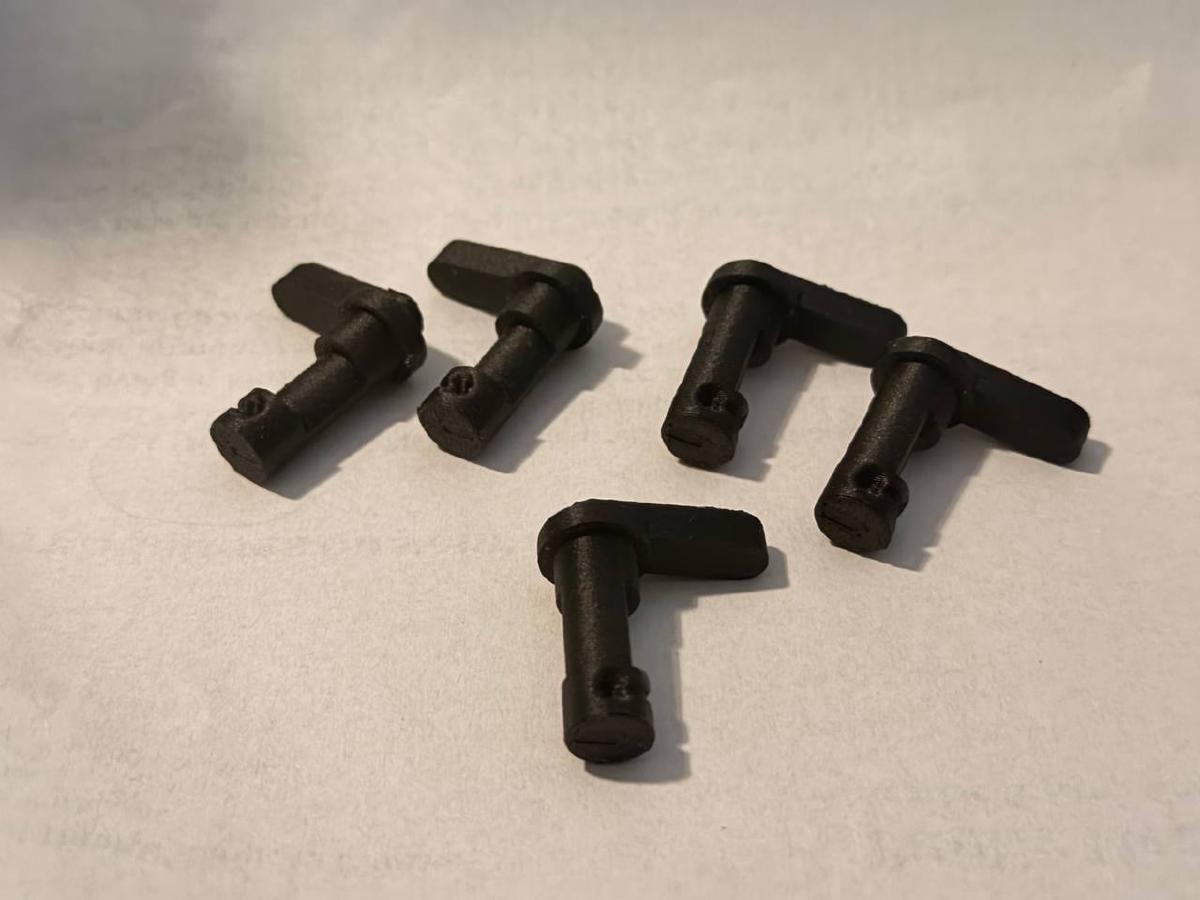
Install this selector in place of your standard mil-spec selector.
6.0 Install Mil-Spec Detent, Pistol Grip
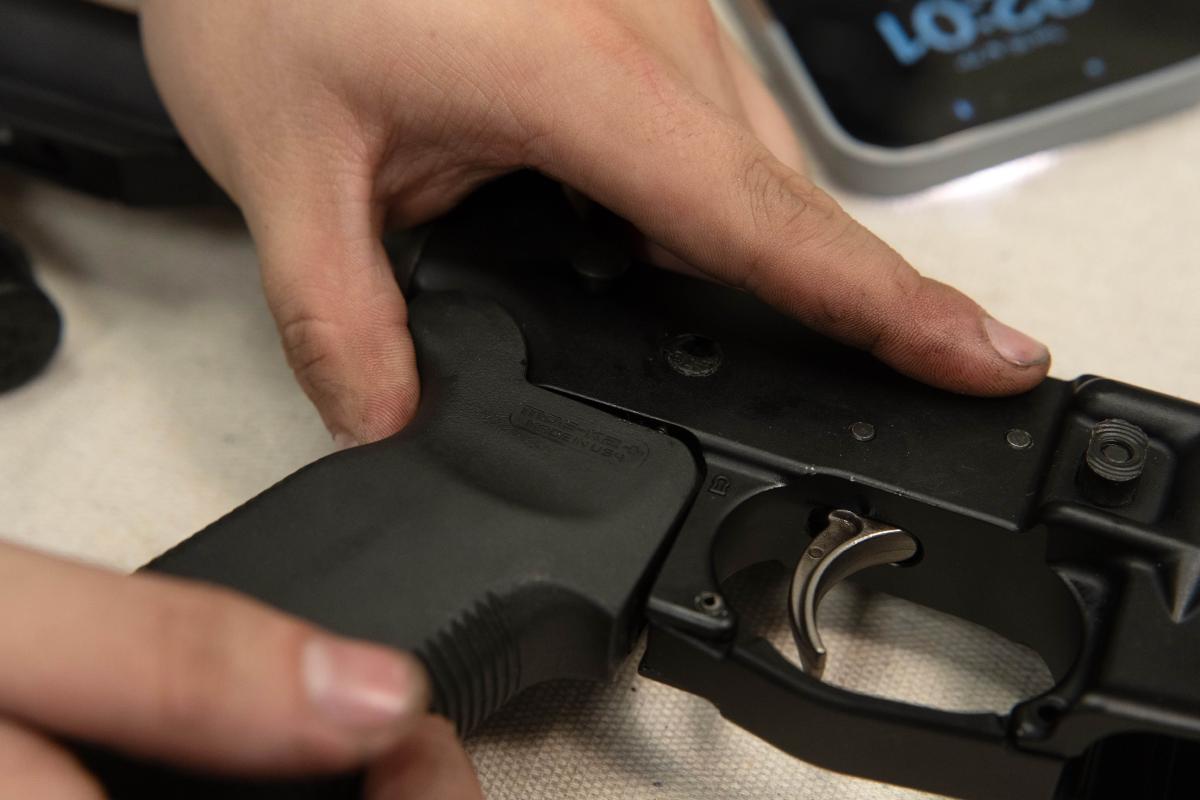
Finally, let’s re-install the detent pin. Then re-install the pistol grip.
Carefully reinstall the pistol grip. Don’t forget the spring!

6.5 Upper & Lower fitment check
Next, take your Kabuto FRT, and test that it fits snugly into the relief cut in your upper.

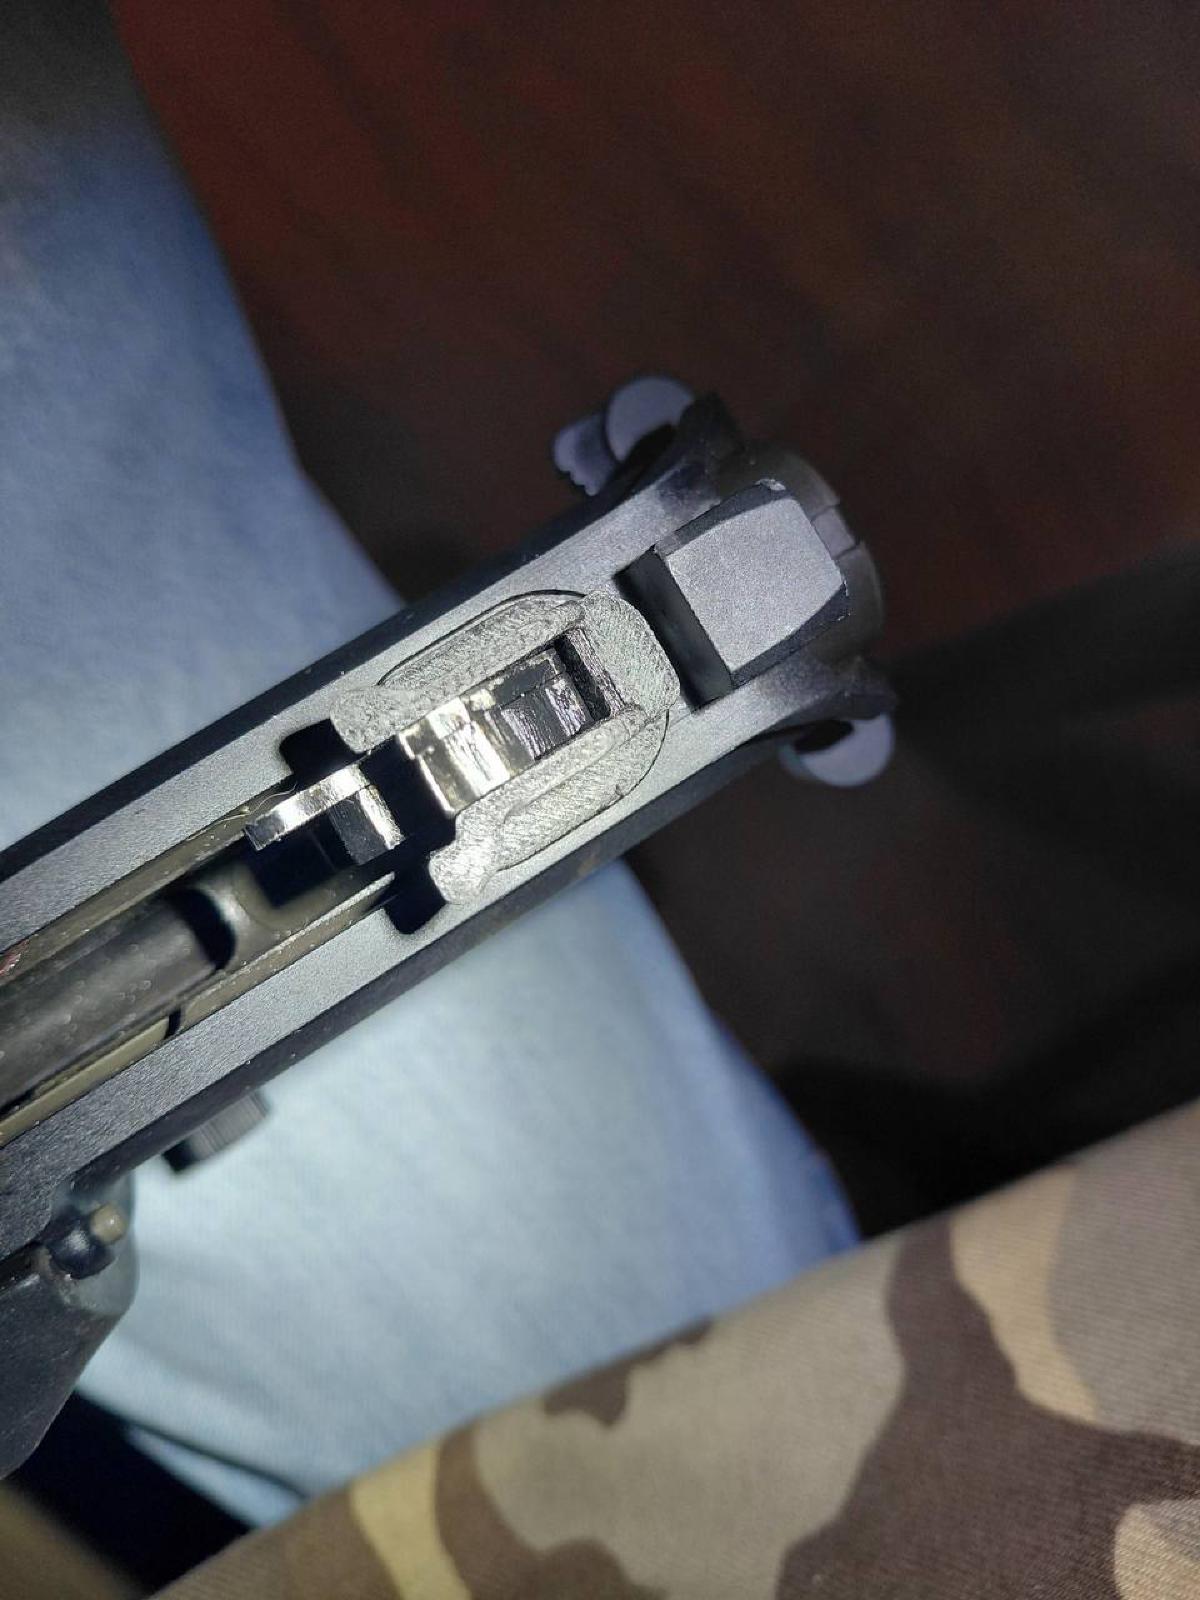
Next, install the FRT so it sits nicely behind the lower with the lever forward.
Note: For AR9 Kits, please check that the rear hump of the lever is smooth.

7.0 Function Test, Lube, Cleanup
Congrats, you’ve made it this far. Bust out your Ballistol give everything a dab.
You may need to repeatably rack the Kabuto for a while until the bolt stops binding This is normal, as every upper/lower has slightly different tolerances.
We also recommend when you get to the range the first time you shoot it in semi-auto mode for a magazine or two until the bolt no longer binds at all.
If there is excessive binding, please STOP, and email us at
Appendix: Function Testing.
In order to functionally test the Kabuto do the following with your upper on.
- With the Safety in the 3rd position, pull the trigger (do not release)
- With your spare hand, cock rack the bolt.
- Without releasing the trigger, release the bolt forward again.
- You should feel the trigger forcibly reset, and with constant pressure drop the hammer again.
- Repeat.
Support & Troubleshooting.
If you’ve read this guide, and are still having issues. Please send us an email with details so we can help.
Happy shooting!
If you still haven’t gotten a Kabuto FRT check out our offerings:
View FRTs →